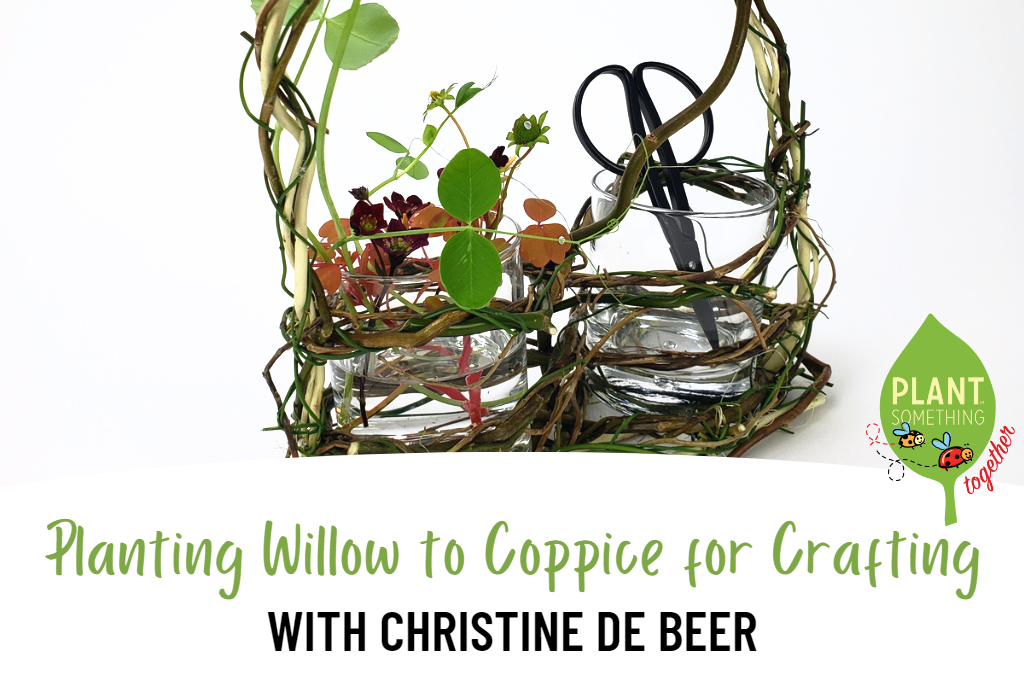
Coppicing is a traditional woodland craft technique of pruning various trees such as hazel, willow or dogwood, at ground level. This encourages the plant to grow vigorous and colourful new shoots from the stump or ‘stool’. These flexible and long stems are ideal to be manipulated for crafts like basket weaving, fencing or building.
If you have a tiny bit of gardening space, like I do, planting willow to coppice to craft with takes space and growing time, but it is really worth it considering how inexpensive, easy and rewarding it is to grow. You will require a dedicated pot or pots or garden patch just for the willow to grow in because they do not like competition. It will take about 2 years (depending on the variety) to grow long enough stems for you to harvest. But I love weaving with willow. No floral craft pantry is complete without at least some fresh stems to weave with!
How To:
You will need a few straight willow stems. February to about now, in April, is the perfect time to start growing Willow. As Spring approaches you will be able to find long tall stems of willow for sale or maybe receive some cuttings from someone growing and pruning willow in your neighborhood.
They root rather easily. If you place the stems in water you will be able to see fresh roots within days.
Step 1:
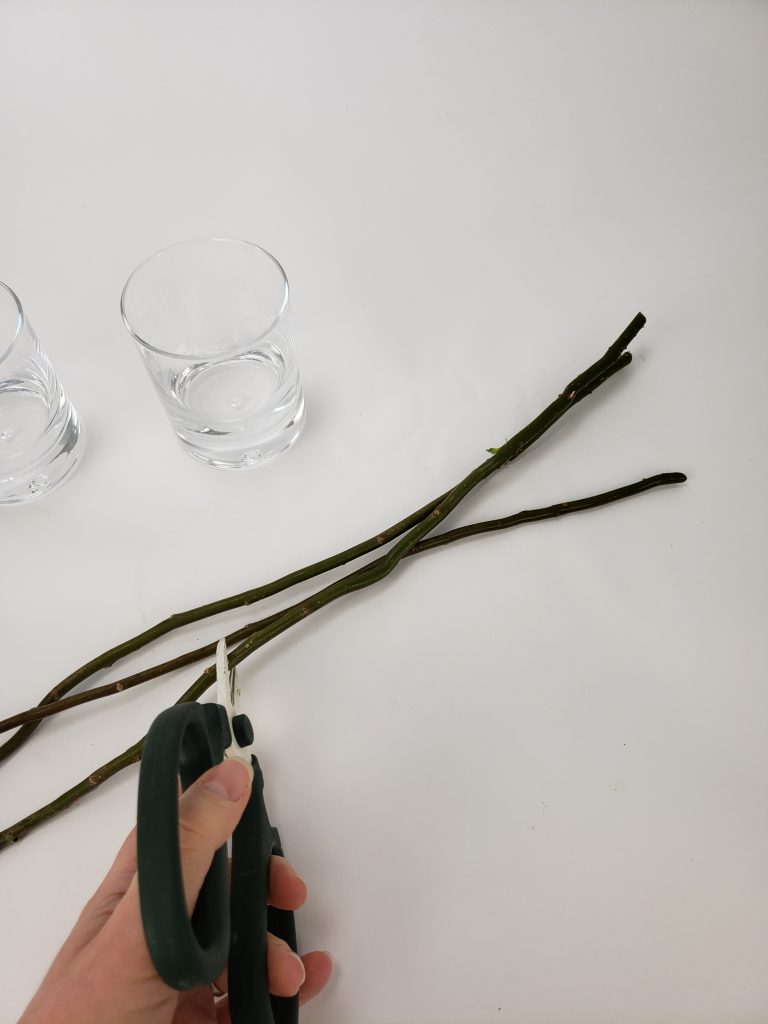
Choose sturdy, straight and branch free willow rods that are about 30cm (12 inches) long for your cuttings.
Step 2:
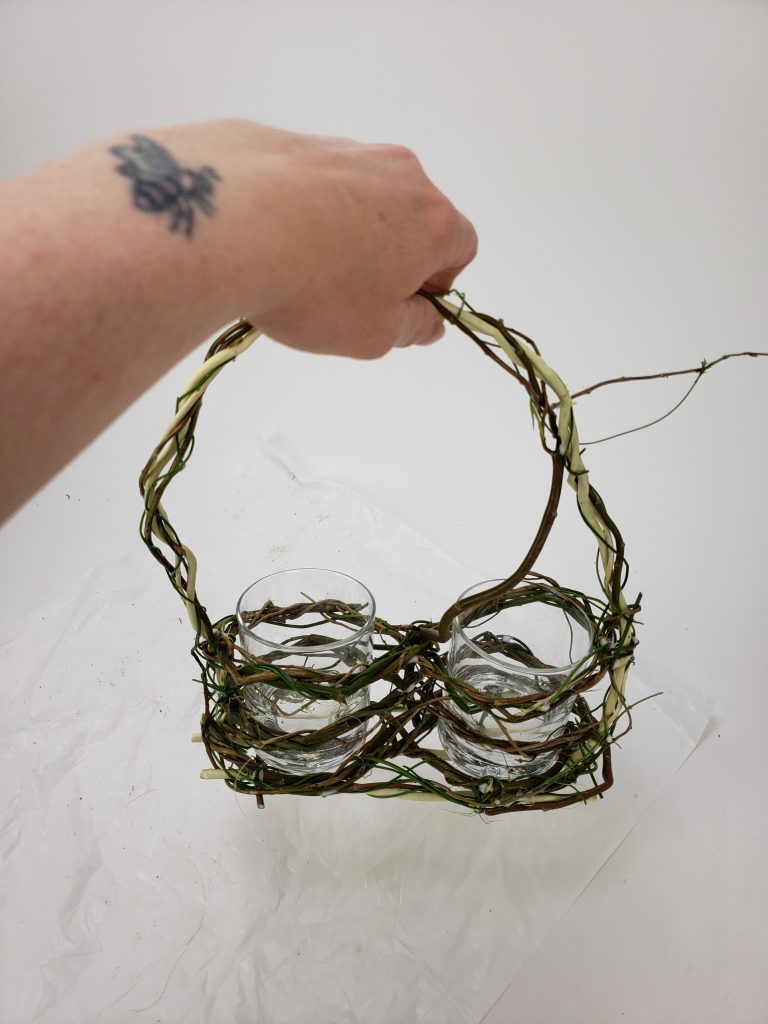
Inspect the stem to make sure you plant them the right way around. The little buds should be pointing straight up. Cut the bottom side into a sharp angle to make it easier to spear the cutting into the ground without damaging the bark. This also makes it easy for you to see which side is which at a glance. Cut your cutting on the thick, less flexible side of the stem. Set the thinner tip end back in water- you can use that to craft this year’s basket (I show you how to make a Gathering Basket on my website this week.)

Step 3:
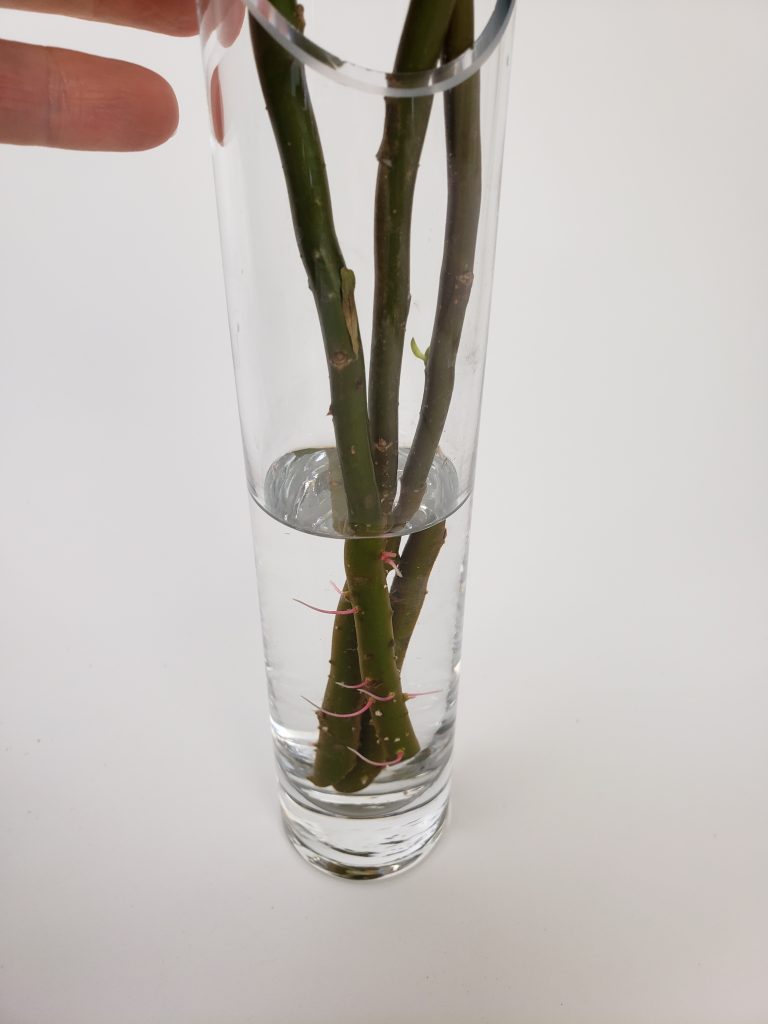
While you are using the willow tips to make your basket, set the cuttings in water to root.
Step 4
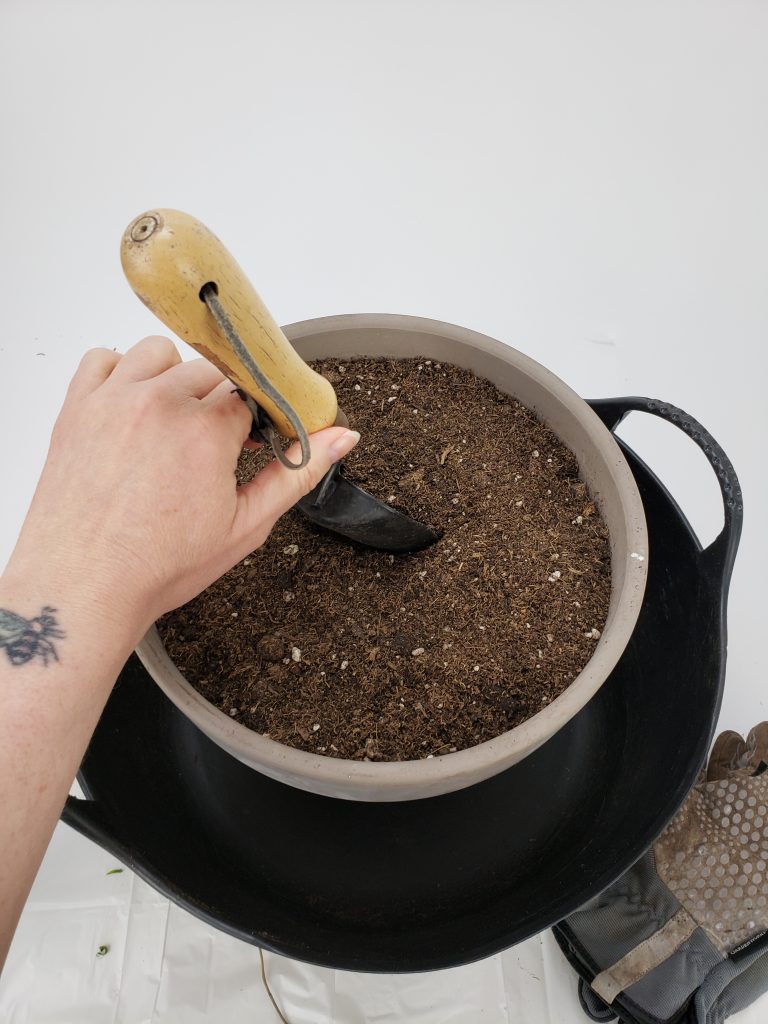
Scoop good quality compost that will retain moisture and allow drainage, into a pot.
Step 5:
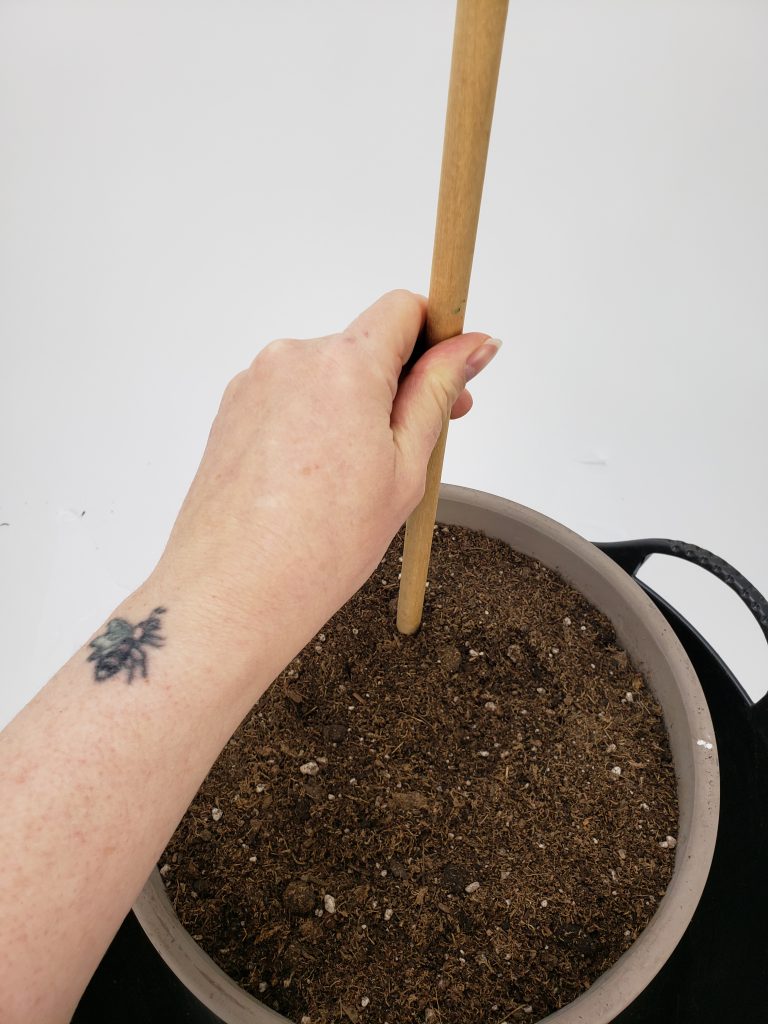
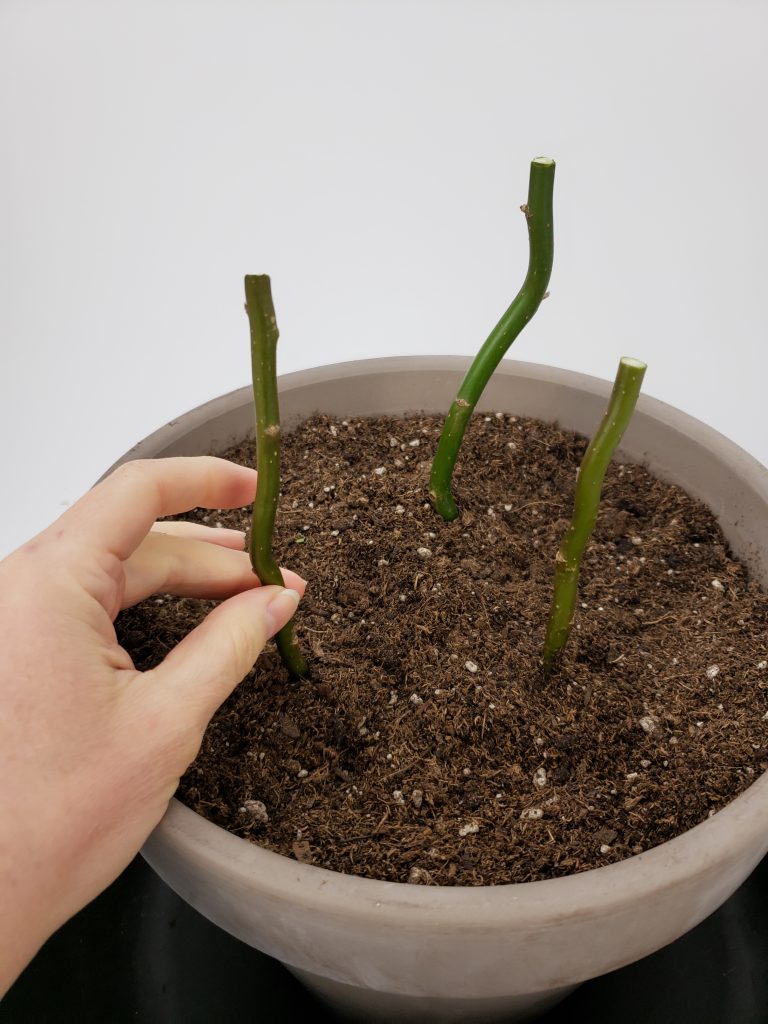
Poke a guiding hole into the soil for the willow cutting so that you do not damage the bark or roots. Plant deep enough with 70% of the stem underground, or count so that two of the little buds are left above ground (we call that part a stool) for it to establish a strong root system. I added 3 stems into my pot which are quite close together as far as growing stuff goes, but perfectly fine when growing the stems to coppice. If you are growing them in your garden and have more space, space them about the length of the cutting apart. And resist the urge to plant anything with willow. They really need their own space and do not like competition. Also weed regularly or cover the ground to keep it weed free.
Step 6:
Grow the willow in a sunny spot and water it well, especially in the warmer summer months. If you grow the willow in a garden make sure it is well away from drains or anywhere where the traveling fibrous roots might disrupt any underwater pipes.
Step 7:

Enjoy watching your willow develop buds and grow straight up into the sky.
Step 8:
… a few years later: To manage the size of the plants you can coppice the plants and use the harvest for crafting projects. Even this tiny twig in the ground can grow to be a sizable shrub by next Spring. If you are looking for more inspiration, there are a number of Tutorials on my website illustrating how to bend and weave the stems.
In early Spring, cut the fresh growing stems back at the base of the plant. Remove all the long rods to craft with. New shoots will grow from the stool, replenishing your flower arranging pantry with fresh weaving stems for your next project. If you find that you love weaving with the stems and need an even bigger supply, start a new willow patch next year. Growing more than one pot of willow allows alternating your harvest with tall and healthy stems every year. You might even have enough cuttings to start another patch of willow or to share with other growers.
For more design inspiration, including the step by step picture Tutorial for this Gathering Basket design, visit Christine’s online workbook christinedebeer.ca. Christine de Beer is a Floral Artist and design skills developer spending most of her time coming up with interesting techniques and testing innovative products. You can contact Christine through her website or email her at [email protected] or connect with her through instagram @chris10debeer